


How to Integrate monday with Jira
Cloud integration
As of February 2023, the monday and Jira cloud integration was updated with several key changes. While past integrations should remain functional, including any previous user recipes, your team will no longer be able to create new recipes. To do so, your organization will need to complete the update and set up their monday/Jira cloud integration according to the steps below.
Visit monday Visit Jira- Start from your instance of monday work management
Log on to the monday.com platform and open the Integrations Center from the user interface. To accomplish this, navigate to the specific board you want to build the integration for. Below, we’re on the Board to Globe board.
Now click on the “Integrate” button in the upper right corner. If you’re not immediately greeted by the Integrations Center, select the correct tab at the top of the new window. Next, type “Jira” into the search box. Locate the app with “by monday.com” beneath the logo and select it.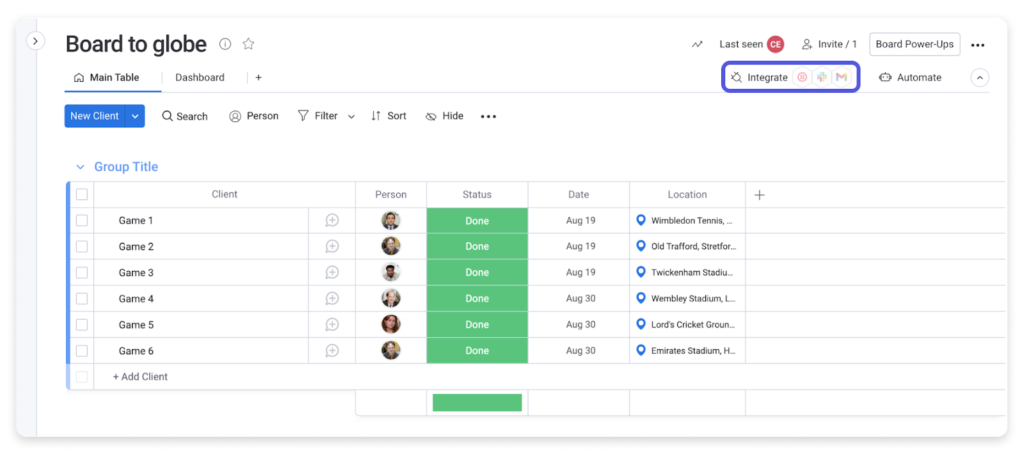
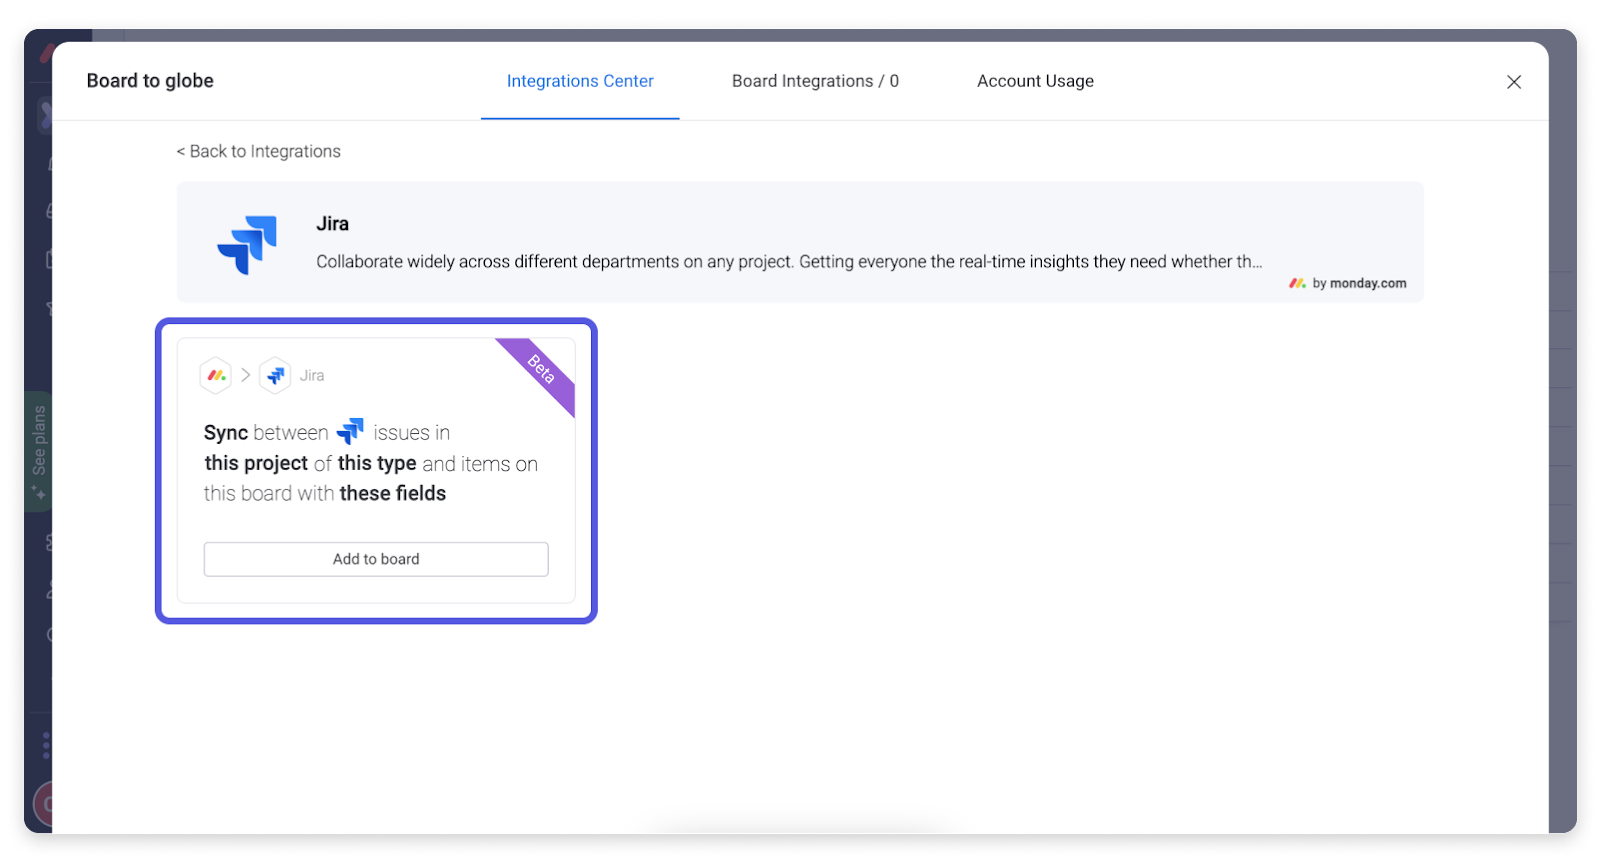
- Select the right recipe.
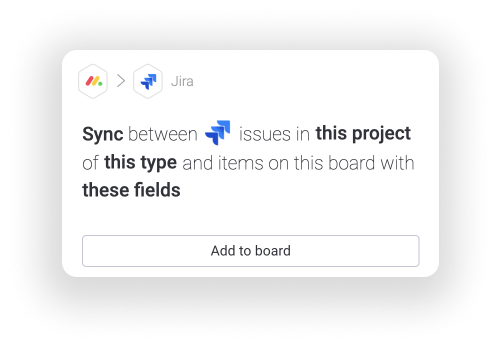
The next step is to select the monday-to-Jira sync recipe and click “Add to board.” If this is the first time you’re integrating monday.com with Jira, this particular recipe is the only recipe you’ll see at this time—it’s meant to be a single entity with several smaller recipes inside. You’ll customize it in the next step.
- Link your accounts.
Now it’s time to link your monday.com account with Jira. Click on the Jira logo at the beginning of the recipe and click “Connect” from the pop-up window. You’ll automatically be redirected to Atlassian, where you’ll be prompted to enter your credentials.
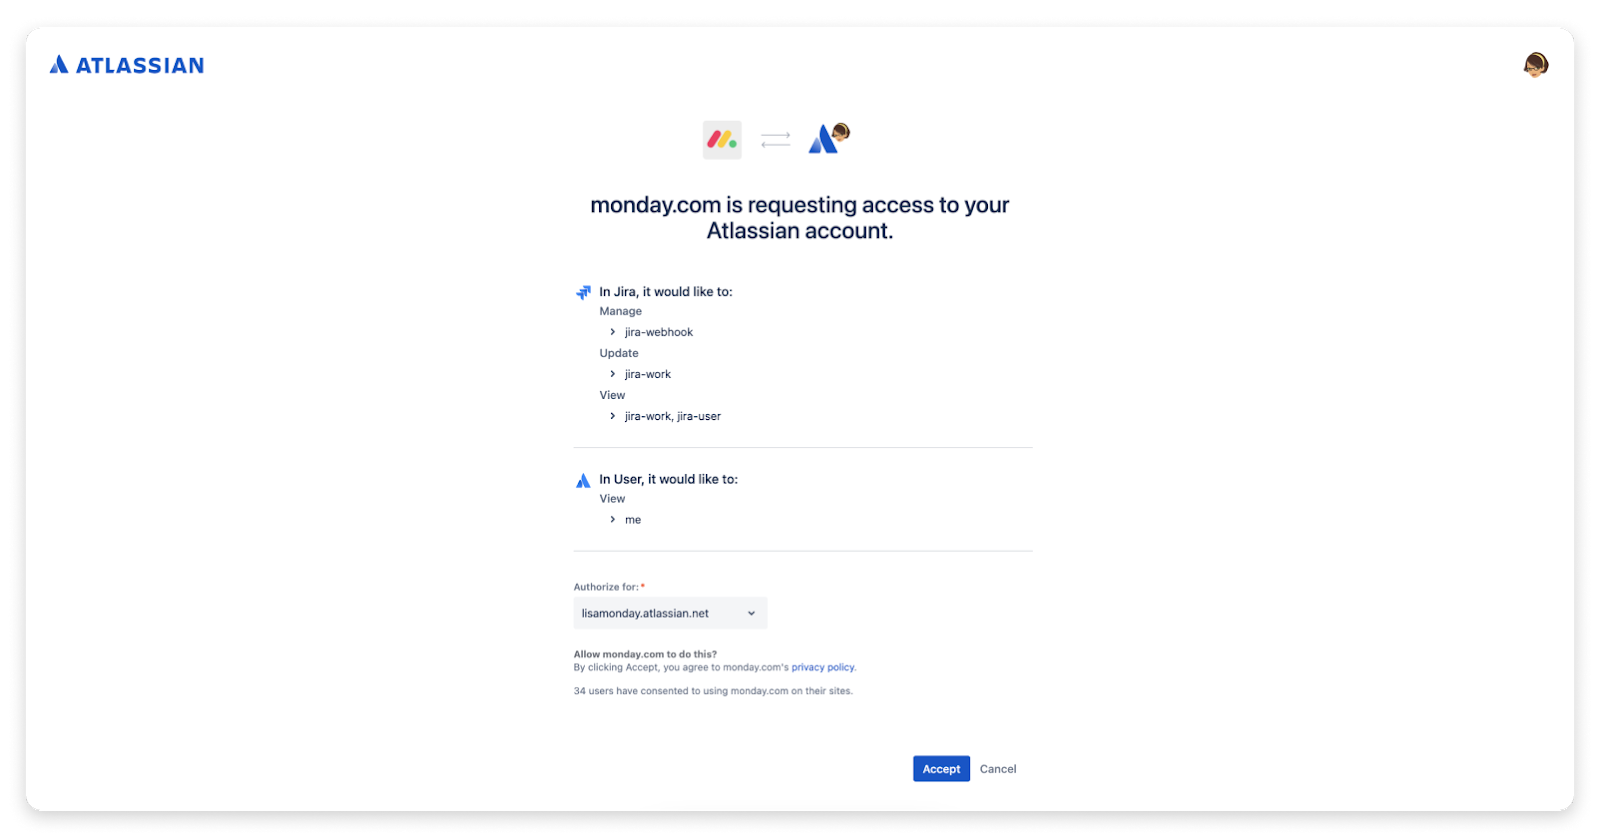
- Customize your recipe.
When you set up a recipe for the first time and connect your monday.com account with Jira, you’ll need to review and accept a list of common permissions. These permissions control how monday.com accesses and uses the information from your Atlassian account, so it’s important to read and understand these permissions before continuing. Once you’re satisfied, click “Accept” to be automatically redirected to the monday.com platform.
After your two accounts have been linked, you can add or adjust your recipe as needed. While there are a variety of options you can choose from and numerous tasks you can accomplish by customizing your recipe, we’ll just cover some of the basic and fundamental features.
One-way sync: Choose this option if you only want to move data from monday.com into Jira, or vice versa.
Two-way sync: This option lets you share data in both directions. This ensures that your data will always remain synced between both platforms.
Many different fields can be imported from Jira to monday.com, including component, issuekey, issuetype, project, string, priority, user, and more. Conversely, integrations from monday.com into Jira can use fields like string, priority, person, number, datetime, and others.
Our instructions assume that you have both monday work management and Jira set up and working correctly. If not, this is a perfect time to try monday.com or Jira as both solutions offer free trials.
Read More: What Is Jira?
Created and supported by the development team at Atlassian, Jira is a comprehensive issue and project tracking tool designed for agile project management—specifically for software developers. But it’s also great for customer support teams that need to track various issue types and other teams that need agile project management. Jira can support a variety of professional services and accommodates both large and small teams.
Read all about Jira in our product review.
Read More: What is monday.com?
Ranked among the most versatile workflow and project management solutions, monday.com currently integrates with 300 different apps—including Google Docs, Google Sheets, Microsoft Teams, and many others.
Native integration is available for the most popular and common services, while additional apps can be connected to the monday work management platform via the third-party tool Zapier. For developers creating their own apps, monday.com even offers access to their application program interface (API).
Learn more with our complete monday.com review.
Mapping monday.com data to Jira
Additionally, mapping data from monday.com into Jira currently allows the following monday columns:
- People
- Status
- Date
- Phone
- File
- Text
- Link
- Numbers
- Long text
- Checkbox
- Rating
- Updates
The information above is enough to integrate monday.com with the basic version of the Jira service management platform. However, monday can also be integrated with Jira Server and Jira Data Center users.
Server and Data Center integration
Integrating monday with Jira Server or Jira Data Center makes it easy for your team to manage day-to-day tasks, track issues, and address software bugs without ever leaving the monday.com platform.
Much of the initial integration process follows the steps outlined for integration above. Instead of searching for and selecting the Jira app, however, you’ll instead search “Jira Server + Data Center.” Again, locate the appropriate app and select it.
Unlike the basic Jira integration, however, you’ll now be presented with three different recipes. These recipes cover all of the fundamental automation procedures you can complete with your new integration:
- The first option lets you create a Jira issue within a specific project type and with specific fields every time an item is created or updated in monday. All future changes from this particular monday board will also be synced.
- The second option updates a specific item based on a regular schedule. Updates contain a summary of all recent changes to the project.
- The third option automatically creates an item in monday.com whenever an issue is created within Jira. It also syncs any future changes that occur on the Jira side.
Once you’ve selected the recipe you want to create, you’ll be redirected to the Atlassian portal and required to enter your login credentials. Again, this process is described in greater detail in the numbered steps above.
Now that you have linked this Jira instance with your monday.com account, you can customize your recipe as needed. Similar to the monday.com integration with the basic version of Jira, this integration supports a myriad of different mappings as well as many other customizable elements. It also supports one-way and two-way sync, as described earlier in this article.
In some cases, you may need to manage your firewall’s permissions to unblock monday.com’s public IP addresses and complete the connection between monday and Jira. Your specific monday.com domain, such as youraccount.monday.com, might also need to be unblocked.
Using Zapier to Integrate monday.com and Jira
monday.com can also be linked with Jira Cloud via Zapier. Those already familiar with Zapier might prefer this method over the native integration.
To accomplish this, sync your monday.com platform with Jira Cloud, select which app you want to serve as the trigger—the app that begins the automation—and then choose the resulting task, or action, you want to see from the remaining app. Next, choose the exact data you want to send to finalize the integration process. In most cases, this integration can be completed within a matter of minutes.
Zapier supports numerous different triggers within both monday.com and Jira. For example, these can be considered triggers:
- A new issue is created in Jira
- An issue is updated in Jira
- An item is created within a specific monday board
- A new board is created in monday.com
Likewise, many different actions can be assigned and paired with triggers too, like these:
- Adding an attachment to a Jira issue
- Finding an existing Jira user
- Archiving an item in monday.com
- Creating a new board in monday.com
Keep in mind that these aren’t exhaustive lists of all the monday or Jira tasks, triggers, and actions available within the Zapier integration. It’s only a taste of the functionality of the Zapier integration.
The Bottom Line: Integrate monday.com and Jira to Streamline Work for Your Team
There are not only many different methods to connect monday and Jira but also many different strategies you can use to make the most of one of the best monday.com integrations. Whether you’re using these tools for simple tasks, like Jira issue automation, or for a full-scale project management solution, the monday and Jira work management integration makes the job easier for every user and saves time.